
Introduction
Sometimes the most instructive thing in beauty is the experiment that did not go according to plan.
The nail fail — the look that missed its mark, the colour that clashed unexpectedly, the design that looked perfect in inspiration and confusing in execution — is not simply a beauty mistake. It is one of the most honest and one of the most creatively valuable experiences available in nail art. Every fail contains information. Every unexpected outcome carries the seed of a better, more informed, and more genuinely personal nail decision the next time around.
In 2025, the nail fail conversation has evolved into something genuinely interesting — a community of beauty lovers who share their unexpected outcomes with honesty and humour, who learn from what did not work, and who use those lessons to develop the aesthetic intelligence and the practical knowledge that the most beautiful nails always require. The fails are the education. The ugly nails are the curriculum.
This guide takes thirteen of the most common nail fail categories and transforms each one into a practical, elegantly presented guide for making the better decision — what went wrong, why it went wrong, and exactly how to achieve the beautiful version of what the original intention was reaching toward. Consider this the most honest and the most genuinely useful nail inspiration guide you will read this year.
1. The Shade That Looked Nothing Like the Bottle
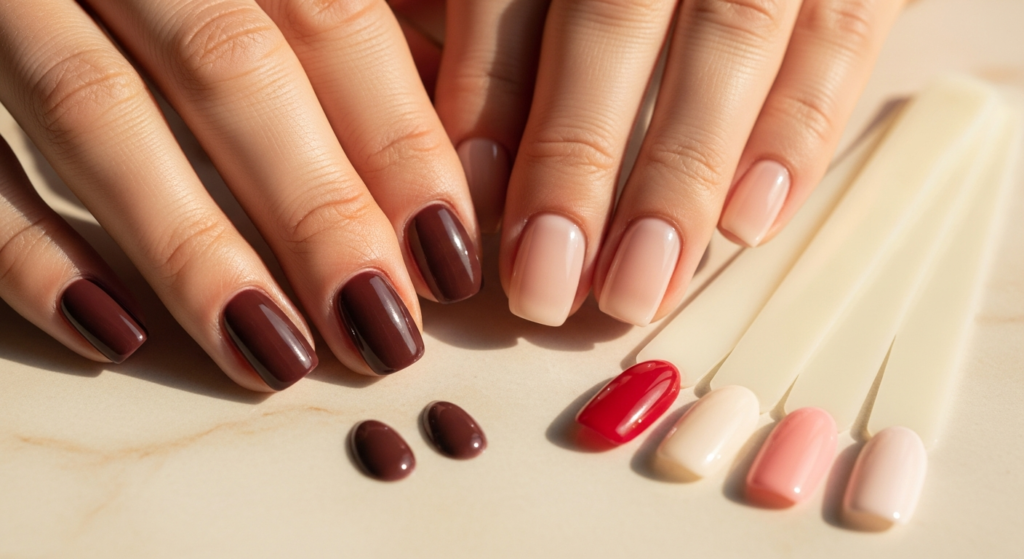
The most common and the most universally relatable nail fail: the polish or gel that appears rich, beautiful, and exactly right in its bottle or swatch — and then dries on the nail in an entirely different, entirely less beautiful shade. The colour that looked deep forest green becomes khaki. The vibrant coral becomes an unflattering orange. The perfectly muted mauve becomes muddy purple.
Styling Tip: This fail happens most often because nail colour appears significantly darker and richer in the bottle than it does as a thin film on the nail surface. The solution is to always check swatches on a nail tip or a piece of paper before committing to the full application. For gel colours specifically, the pre-cure and post-cure colour can differ significantly — always ask your nail technician to cure a single nail first and check the result before completing the full set. Choose gel brands with accurate, consistent swatch representations and test on a single finger before completing a full set whenever trying a new shade.
The beautiful version of this nail experience: approach shade selection with genuine curiosity rather than certainty — the unexpected colour that results from a failed swatch is sometimes the most interesting discovery in the entire process.
2. The Nail Art That Looked Perfect on Instagram
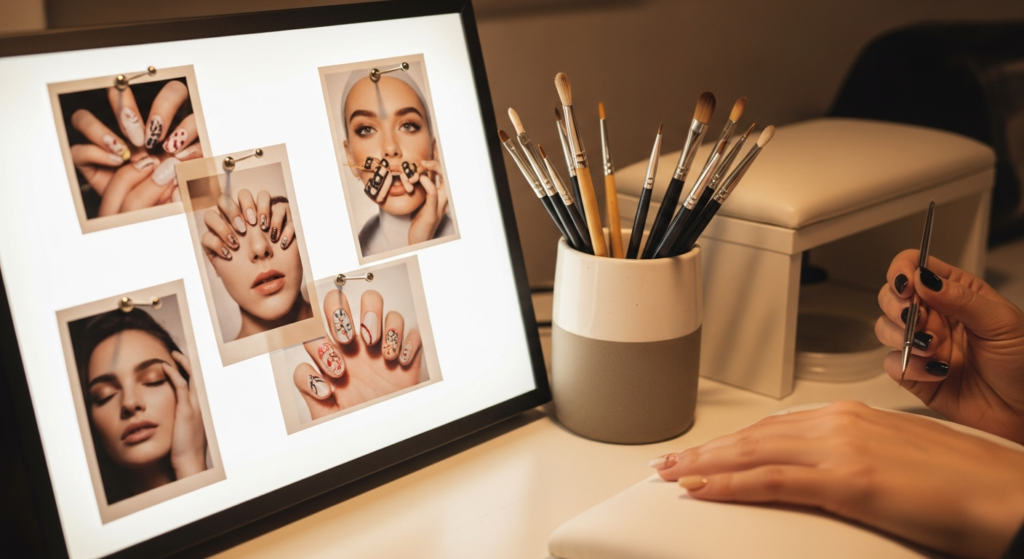
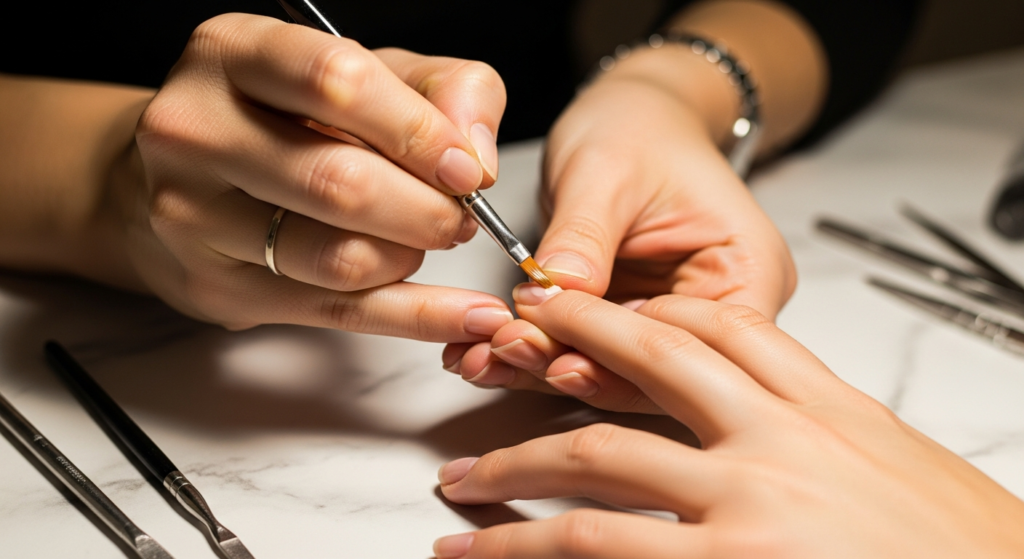
The nail art photograph that earned ten thousand saves on Pinterest — the delicate hand-painted florals, the precise geometric design, the perfectly executed chrome gradient — and then arrived at the salon looking entirely different from its inspiration. The lines are slightly wobbly. The proportions are slightly off. The overall impression is somewhere between the inspiration and something entirely unintended.
Styling Tip: This fail is almost always a communication problem between the client and the nail technician rather than a skill problem. Bring multiple reference images rather than a single inspiration — including examples of what you do not want alongside what you do. Discuss scale, colour, and finish explicitly before work begins. Most importantly, accept that hand-painted nail art is genuinely handcrafted — slight organic variation is not a fail but a feature of artisan work. The perfectly imperfect line is often more beautiful than the digitally precise one.
The beautiful version of this experience: learning to describe what you love most specifically — the colour, the scale, the mood, the finish — rather than relying on a single image to communicate a complex aesthetic vision.
3. The Colour Combination That Clashed
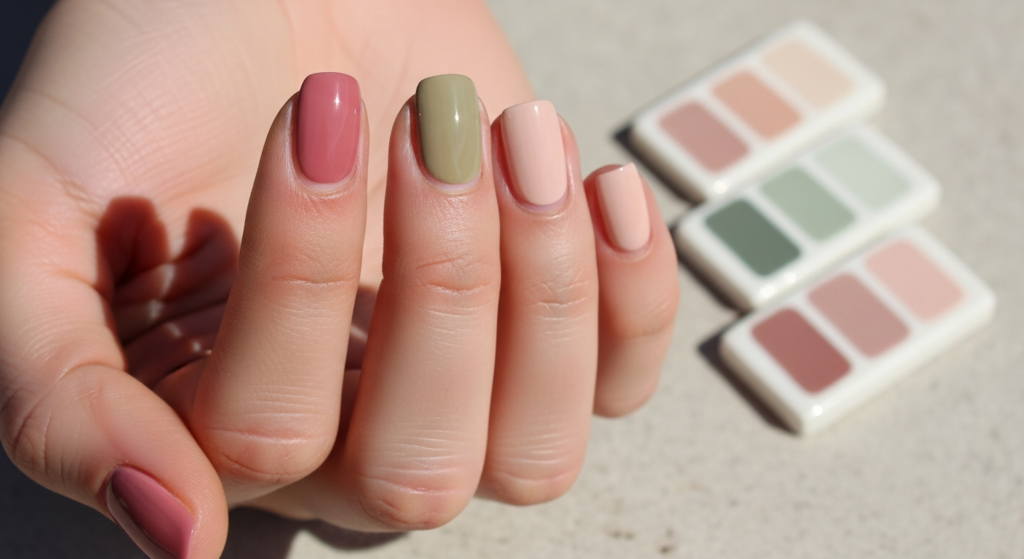
Two nail colours that seemed beautifully complementary in theory — and then appeared jarring, confusing, or simply wrong when placed side by side on the actual nails. The mustard and lavender that looked editorial on the mood board and distracting on the hand. The dark green and bright orange that seemed artistic in imagination and costume-like in practice.
Styling Tip: Colour combination fails almost always result from working with colours at different levels of saturation or value — a very bright colour paired with a very muted one creates visual tension rather than harmony. The most beautiful nail colour combinations work within consistent saturation levels — all muted and dusty together, or all richly saturated together, rather than mixing across the spectrum. Before attempting a two-tone nail look, test both colours on separate fingers of the same hand in natural light and live with the combination for ten minutes before committing. Natural light always reveals colour relationship truths that artificial light conceals.
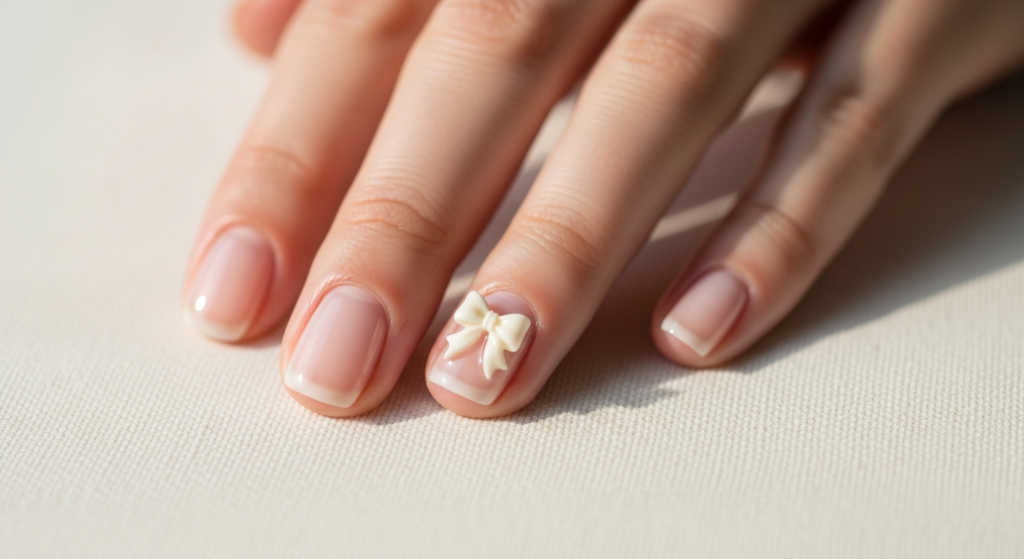
4. The Over-Embellished 3D Nail That Caught on Everything
The 3D nail art that looked magnificent in photographs and then immediately began catching on fabric, snagging on hair, and generally making the daily act of using your hands a navigational challenge. The beautiful sculptural element that was so large, so raised, or so structurally complex that wearing it was its own daily aesthetic experience — and not always a pleasant one.
Styling Tip: 3D nail art wearability is directly proportional to the scale and the positioning of the dimensional element. Raised elements that extend significantly beyond the nail surface plane — whether bows, flowers, gemstones, or sculptural shapes — require daily life accommodation that not everyone finds practical. The most wearable 3D nail art keeps dimensional elements to a scale that does not exceed two to three millimetres of height from the nail surface, positions embellishments away from the free edge where the risk of catching is highest, and seals every element completely within a gel top coat layer. Beautiful 3D nails are those that can be worn as naturally as plain nails, with the dimensional detail adding visual interest rather than practical complication.
5. The DIY Nail Art That Revealed the Limits of Equipment
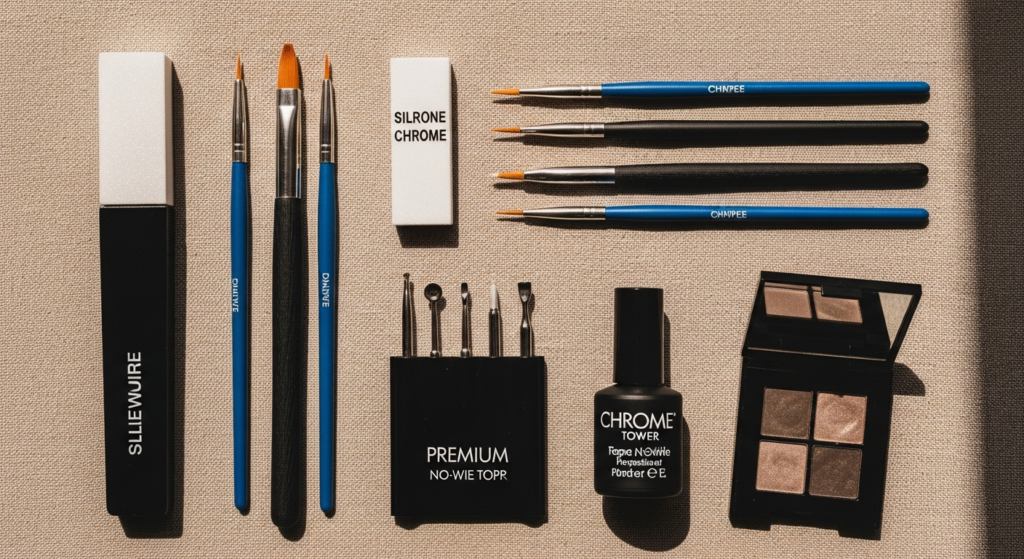
The beautiful nail art tutorial that was followed precisely and faithfully — and whose results revealed, with devastating clarity, the difference between a professional nail artist’s tools and the DIY alternatives. The thin brush that was not thin enough. The nail art pen that bled. The dotting tool that created circles slightly larger than intended. The chrome powder that refused to adhere correctly without the proper gel base.
Styling Tip: The most common DIY nail art fail is attempting advanced techniques without the specific tools those techniques require. Chrome powder application requires a specific no-wipe top coat and a silicone buffer — standard top coats and cotton applicators will not create the mirror finish regardless of technique. Fine line art requires a genuine striping brush of at most one millimetre width. Complex gradient work requires a professional cosmetic sponge and the correct application technique. Before attempting any nail art tutorial, identify every specific tool the technique requires and invest in those tools before beginning — the technique itself is often straightforward once the correct equipment is in hand.
6. The Gel That Lifted After Two Days
The gel manicure that was meant to last three weeks and began lifting noticeably after forty-eight hours — one of the most demoralising and the most universally experienced gel nail fails available. The investment of time and money resulting in a look that deteriorates faster than a standard polish might have.
Styling Tip: Premature gel lifting is almost always caused by one of four preparation failures — insufficient nail dehydration before application, cuticle or skin residue on the nail surface, too-thick gel application in a single coat, or failure to cap the free edge properly. The solution to each is specific: ensure nails are cleaned with a nail prep dehydrator before any gel product is applied; push cuticles back fully and ensure no skin contacts the nail surface before curing; apply gel in three thin coats rather than one or two thick ones; and run the gel brush along the free edge of each nail to cap it before curing. Additionally, avoid water immersion for the first twenty-four hours after application and apply cuticle oil daily to maintain the seal at the nail edge.

7. The Nail Length That Proved Impractical
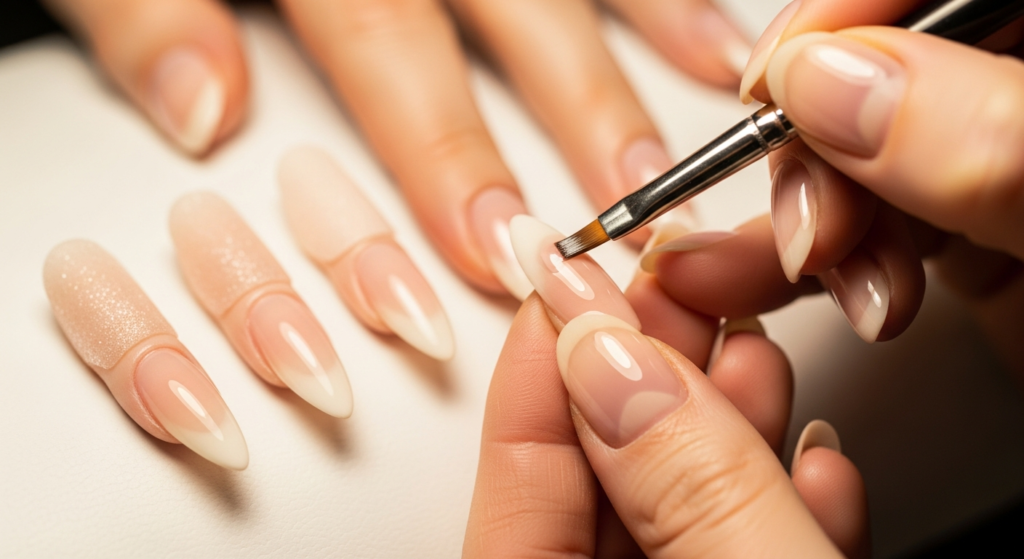
The beautiful, dramatic, long-length nail that looked extraordinary in the salon photograph and then immediately revealed its incompatibility with the actual daily life it was intended to inhabit. The stiletto nails that made typing genuinely challenging. The coffin nails that made everyday household tasks unexpectedly complicated. The extra-long almond that snapped within forty-eight hours.
Styling Tip: Nail length is the most fundamental and the most practically important nail decision available — and the most beautiful nail length is always the one that is sustainable within the specific daily life of the person wearing it. A professional typist may find that anything beyond a short oval is impractical regardless of aesthetic preference. A person whose daily work involves significant hand activity will find that a medium length serves better than a dramatic one. The most elegant approach is to choose the longest length that genuinely accommodates your daily life — and wear that length with complete commitment to quality rather than attempting a length that requires daily accommodation and negotiation with the practical demands of real life.
8. The Trendy Colour That Aged Instantly
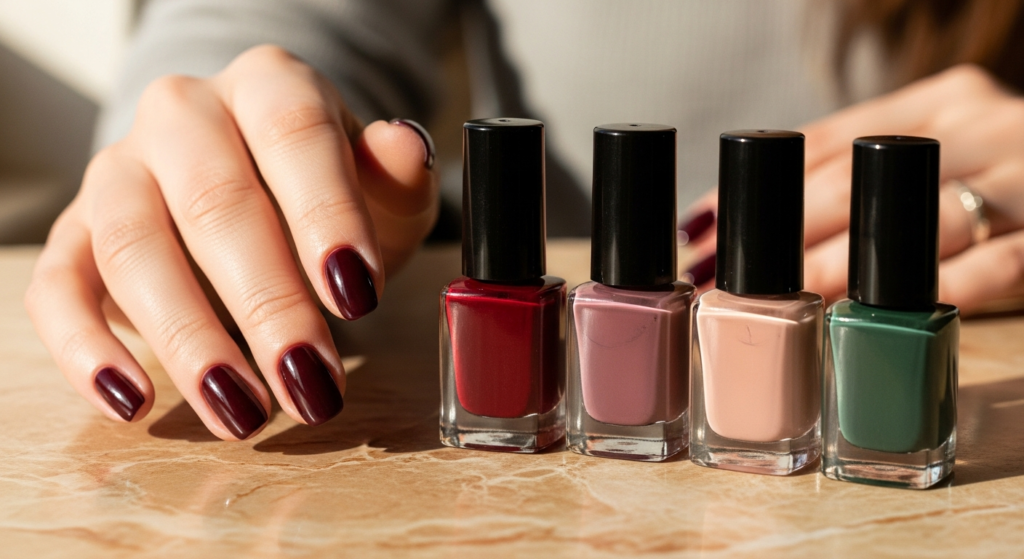
The nail colour that was absolutely, definitively the most searched and the most admired shade of a specific moment — and which, within a few months, began to feel irrevocably dated. The ultra-specific trend colour that peaked and passed faster than the gel application that carried it lasted.
Styling Tip: The most beautiful nail colours are those with enduring quality rather than pure trend currency — shades that carry their own intrinsic beauty independently of the cultural moment that briefly made them ubiquitous. The safest and the most personally rewarding nail colour investment is always a shade that you find genuinely beautiful in isolation — that you would choose even if you had never seen it on anyone else. Warm nudes, deep burgundy, forest green, classic red, and soft pink are the most enduringly beautiful nail colours precisely because their appeal is grounded in colour theory and personal response rather than trending status alone.

9. The Mismatch Between Nail Art and Life Context
The extraordinary, editorial, gallery-quality nail art that looked magnificent in the photograph and then appeared wildly incongruous in every actual context of daily life — too dramatic for the office, too elaborate for casual weekends, too high-maintenance for the genuine practicalities of everyday existence.
Styling Tip: The most wearable and the most consistently beautiful nail art is always that which has been chosen with the full context of daily life in mind rather than for a single photograph. Before committing to a dramatic or highly elaborate nail design, consider every context in which you will wear it for the next three weeks — work, social occasions, weekend activities, and the full range of daily practical tasks. The most elegant nail art decision is always the one that feels as appropriate and as beautiful in the most ordinary moments of daily life as it does in a carefully lit photograph. Design with the full life in mind, not just the best possible image.
10. The Rushed Application That Showed Every Flaw
The nail polish or gel applied in haste — without adequate preparation, without the correct number of coats, without the patience for proper drying or curing time — that revealed every imperfection with merciless clarity. Streaking, bubbling, uneven coverage, and the telltale signs of an application that cut too many corners at too many stages of the process.
Styling Tip: Beautiful nails — whether applied professionally or at home — are entirely dependent on adequate preparation and patient application. The preparation stage — cleaning, filing, dehydrating, and applying base coat — accounts for approximately forty percent of the final result’s quality, yet is the stage most frequently rushed or abbreviated. Allow each coat of colour to cure or dry completely before applying the next. Apply three thin coats rather than two thick ones. Use a quality base coat and a quality top coat — these two products have more impact on the longevity and the quality of the finished nail than any other single product in the application process.

11. The Nail Shape That Did Not Suit the Hand
The nail shape that looked beautiful in inspiration photography — on a hand with entirely different proportions, nail bed width, and finger length — and then revealed on the actual hand for which it was intended that nail shape is as personal and as body-specific as any other element of beauty. The stiletto that overwhelmed a wide nail bed. The square that shortened a round fingertip. The almond that was simply too long for the natural nail length available.
Styling Tip: The most universally flattering nail shape principle is to choose a shape that echoes the natural shape of the finger rather than working against it. Wider nail beds are most flattered by oval and almond shapes that create a vertical elongation effect. Narrower nail beds can accommodate a wider range of shapes including square and squoval. Shorter fingers are most flattered by oval and almond shapes that create an elongated impression. Longer fingers can accommodate more dramatic shapes including coffin and stiletto without visual imbalance. The most beautiful nail shape is always the one that makes the hand as a whole appear most naturally elegant — the nail as an extension of the hand’s own beauty rather than a separate, competing element.
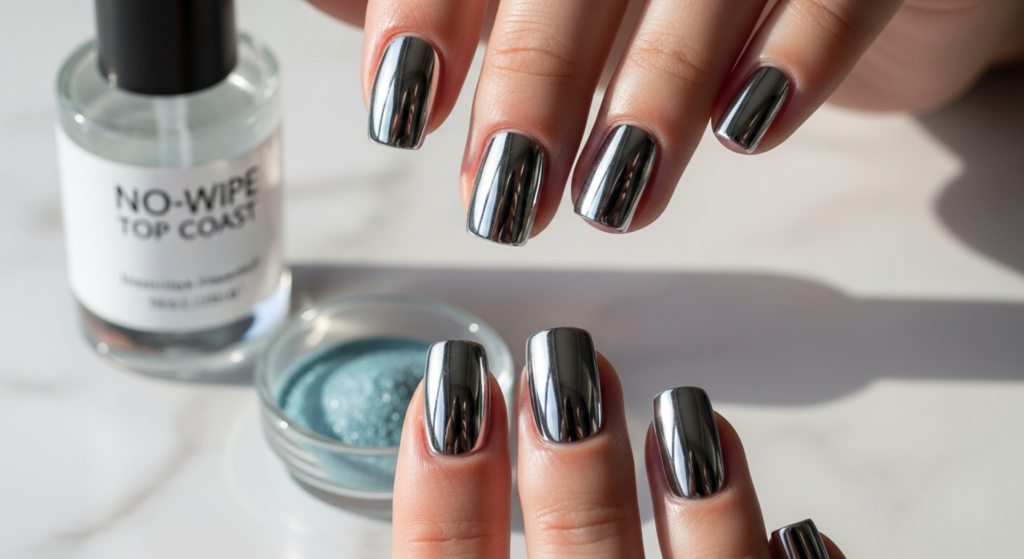
12. The Home Chrome Application That Missed the Mirror Effect
The chrome powder applied at home with genuine enthusiasm and the correct product — but with a slightly incorrect technique that resulted in a dull, hazy, almost matte finish where a liquid-mirror surface had been hoped for. The most technically specific of all nail art fails, and one of the most instructive.
Styling Tip: Successful chrome mirror nail application requires absolute precision at the base gel stage before the chrome powder is applied. The gel base must be cured under a no-wipe top coat — a top coat that leaves no inhibition layer on its surface after curing. If any standard top coat is used instead, the chrome powder will not adhere correctly and the mirror effect will be dull and incomplete regardless of how much pressure or technique is applied. Once the correct no-wipe base is used, the chrome powder must be applied with a silicone tool using firm, circular buffing motions with consistent pressure across the entire nail surface. The mirror quality is determined entirely by the evenness and the pressure of the buffing technique on the correctly prepared base.
13. The Nail That Broke Before the Week Was Out
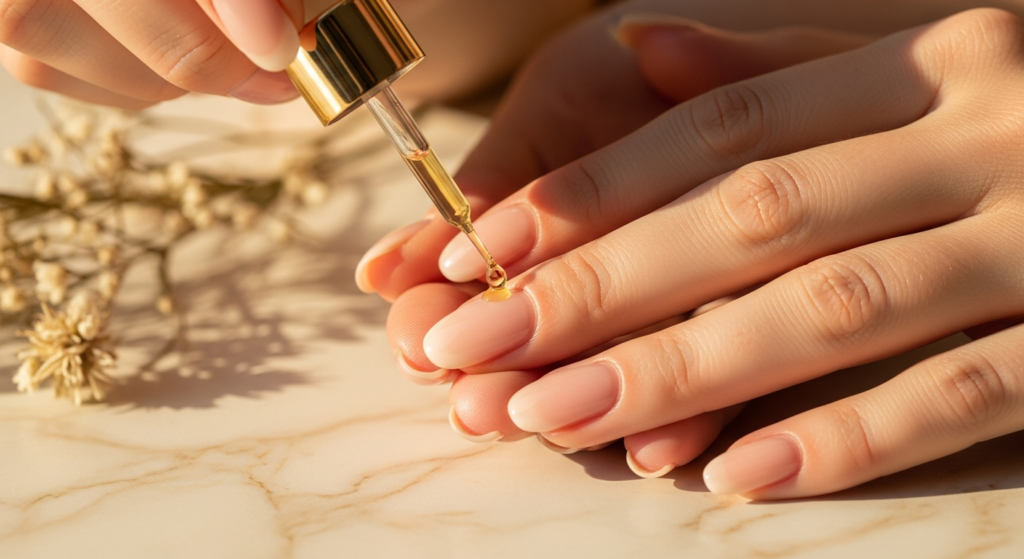
The beautiful, carefully chosen nail — whether natural, gel, or acrylic extension — that broke significantly before the appointment it was meant to last until. The perfectly styled nail that became a damaged one within days through the ordinary demands of daily life rather than any genuinely careless behaviour.
Styling Tip: Nail breakage is most commonly prevented through three consistent practices — appropriate length selection for daily life activities, correct application technique that creates structural integrity throughout the nail, and consistent daily maintenance with quality cuticle oil applied to the nail and surrounding skin. The cuticle oil step is the most frequently neglected and the most impactful daily maintenance practice available — it maintains the flexibility of both the natural nail and the gel or acrylic overlay, significantly reducing the brittleness that causes breakage. Apply cuticle oil to every nail every morning and every evening, and massage it gently into the surrounding skin for full absorption and maximum protective benefit.
Conclusion
The ugly nails fail is not the end of the nail art story — it is one of its most essential chapters. Every colour that surprised you, every design that did not translate, every gel that lifted too soon, every length that proved impractical, and every chrome that stayed resolutely dull has given you something genuinely valuable: the specific, practical knowledge that transforms nail enthusiasm into genuine nail intelligence.
The thirteen nail fail scenarios explored here — and the beautiful, informed solutions each one points toward — are proof that the most beautiful nail art is always built on a foundation of honest learning rather than simply inspiration consumption. The person whose nails are consistently, genuinely beautiful is almost always the person who has paid the most honest attention to what did not work and used that attention to make every subsequent nail decision more precisely, more personally, and more beautifully their own.
Your best nail look is not behind you. It is the one you will choose with everything you now know.
FAQs
Q1: Why do nail polishes and gels look different on nails than they appear in the bottle? Nail polishes and gel colours appear significantly richer and more saturated in the bottle because you are seeing the colour through a thick, concentrated layer of pigment. When applied as a thin film on the nail surface, the colour is diluted and diffused — particularly in the first one to two coats before full opacity is built. Additionally, the specific undertone of a colour becomes more visible at lower opacity. The solution is to always test colours on a nail swatch or single finger before committing, and to check gel colours after curing since the colour shift between pre-cure and post-cure can also be significant.
Q2: How do I prevent gel nails from lifting prematurely? Preventing premature gel lifting requires proper nail preparation before application — removing all traces of natural oil from the nail surface with a dedicated nail prep dehydrator, pushing cuticles back fully so no skin contacts the gel during application, applying gel in three thin coats rather than one or two thick ones, and capping the free edge of each nail with a thin stroke of gel before curing. After application, avoid prolonged water immersion for the first twenty-four hours, apply cuticle oil daily, and avoid using nails as tools for scraping, prying, or opening objects.
Q3: What is the most common mistake people make when choosing nail art designs? The most common nail art design mistake is choosing a design based solely on how it appears in an inspiration photograph without considering the specific context of daily life in which it will be worn for the next two to three weeks. A design that is beautiful in a photograph but impractical for work, physically inconvenient due to raised elements, or aesthetically incongruous with the wearer’s personal style will ultimately create dissatisfaction regardless of its technical execution. The most beautiful nail art decisions are always those made with both the inspiration and the full context of daily life genuinely in mind.
Q4: How can I get better results from DIY nail art at home? Better DIY nail art results begin with investing in the specific tools each technique requires rather than attempting professional techniques with inadequate equipment. A genuine striping brush of one millimetre or less for fine line art, a silicone tool and no-wipe top coat for chrome application, a cosmetic sponge and appropriate gel formulas for gradient work — these specific tools are what make each technique achievable. Additionally, watching multiple tutorial videos for the specific technique before attempting it, practising on nail tips before applying to actual nails, and accepting that the first attempt at any new technique is part of the learning process rather than the final result will all significantly improve DIY nail art quality and enjoyment.
Q5: What nail shapes are most universally flattering and practical? The oval and almond nail shapes are the most universally flattering and the most broadly practical for everyday life. Both shapes elongate the appearance of the fingers naturally, work with a wide range of nail lengths from medium to long, complement virtually every nail colour and nail art style with equal grace, and remain practical for daily tasks at appropriate lengths. Short oval and rounded square shapes are the most practical for those with very active daily lives. Coffin and stiletto shapes are the most visually dramatic but require greater length, greater daily care, and greater accommodation of practical nail challenges for genuinely comfortable daily wearability.